If you’re looking to add a unique touch to your photos, a space-themed photo frame may just do the trick. Here’s a step-by-step guide on how to make one yourself.
Gather Your Supplies
The first step is to gather all the necessary supplies. You’ll need a picture frame of your choice, some cardboard, scissors, paint, brushes, glue, and any decorations you want to add to your theme.
It’s important to make sure you have all the supplies you need before starting your project. If you’re unsure about what decorations to add, consider using items that are meaningful to you or the person you’re making the frame for. You could also try using different textures or patterns to add interest to the frame. Don’t be afraid to get creative!
Choose Your Space-themed Design
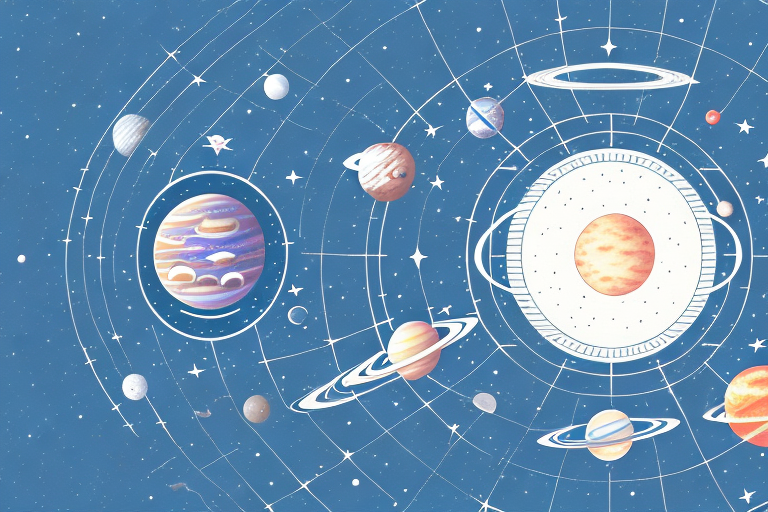
Before you begin, decide on the space-themed design you want. This could be anything from stars, planets, rockets, or even the galaxy itself. The theme you choose will determine the colors and decorations you’ll need to use.
Once you have chosen your space-themed design, you can start thinking about how to incorporate it into your space. For example, if you choose a planet theme, you could create a solar system mural on one of your walls. If you choose a rocket theme, you could hang model rockets from the ceiling. The possibilities are endless, so get creative and have fun!
Cut Your Photo Frame Base
Next, you’ll need to create the base of your photo frame using some cardboard. Measure and cut out a rectangular shape that matches the dimensions of your picture frame. Ensure that you create a hole in the center that’s the same size as your photo.
Once you have cut out the base of your photo frame, you can decorate it with paint, markers, or other embellishments to make it unique. You can also add additional layers of cardboard to create a more three-dimensional effect. Just be sure to let any paint or glue dry completely before moving on to the next step.
Paint and Decorate Your Frame
Once you have your base ready, start painting it with the colors of your space-themed design. You can also use sponges, brushes, or even stencils to create different patterns and textures. Add glitter, sequins, or other embellishments to make your frame stand out.
When choosing the colors for your frame, consider using shades of blue, purple, and black to create a galaxy-like effect. You can also add some metallic paint to give it a futuristic look.
If you want to take your decorating skills to the next level, try using glow-in-the-dark paint or stickers to make your frame shine in the dark. This will add an extra element of fun to your space-themed design.
Add Your Space-themed Accents
Now that your base is ready, it’s time to add your space-themed accents. You can cut out shapes from cardboard or paper, paint them, and glue them onto your photo frame. You can add stars, planets, rockets, or any other space-themed designs that you like. You can even use glow-in-the-dark paint to make your frame shine at night.
Another fun idea is to add some space-themed stickers or decals to your photo frame. You can find these at craft stores or online. They come in a variety of designs, such as astronauts, spaceships, and galaxies. You can also use metallic or glittery markers to draw your own space-themed designs on the frame. Get creative and have fun!
Insert Your Photo
Once your frame is complete, insert your chosen photo from the back and attach the backboard of the frame. Make sure the photo is centered and secure.
It is important to choose a photo that is the appropriate size for your frame. If the photo is too small, it may look awkward and out of place. On the other hand, if the photo is too large, it may not fit properly and could cause damage to the frame. Take the time to measure your photo and ensure it is the correct size before inserting it into the frame.
Display and Enjoy Your Space-themed Photo Frame
Your space-themed photo frame is now ready to be displayed and admired. You can place it on a bookshelf, a desk, or any other place where it can be easily seen and appreciated.
Additionally, you can also consider hanging your space-themed photo frame on a wall to create a unique and eye-catching display. Choose a spot that is easily visible and complements the theme of the photo frame. You can also pair it with other space-themed decor to create a cohesive look.
Tips for Personalizing Your Space-themed Photo Frame
Personalizing your space-themed photo frame is all about creativity. You can use different materials, such as paper, fabric, or even clay to create unique designs that reflect your personality. You can also add quotes, messages, or even your name to make it more personal.
Another way to personalize your space-themed photo frame is by adding embellishments. You can use stickers, sequins, or even small space-themed figurines to add a pop of color and texture to your frame. You can also use paint or markers to draw your own designs or patterns on the frame.
Finally, consider the placement of your photo frame. You can display it on a bookshelf, a desk, or even hang it on a wall. Think about the colors and decor of the room where you will be displaying it, and choose a spot that will make your personalized space-themed photo frame stand out.
Different Space-themed Ideas for Photo Frames
There are countless space-themed ideas to choose from when creating a photo frame. You can focus on a particular planet, constellation, or even a sci-fi theme. You can also create a series of frames that tell a story or are related to a particular event.
For example, you could create a series of frames that depict the phases of the moon, starting with a full moon and ending with a new moon. Another idea is to create a frame that showcases the different types of galaxies, such as spiral, elliptical, and irregular. You could also create a frame that celebrates a significant space-related event, such as the anniversary of the first moon landing or the launch of a new spacecraft.
How to Create a Galaxy Effect on Your Photo Frame
A galaxy effect can be created by using different shades of blue, purple, and pink. Start by painting the entire frame with a dark blue color, then use a sponge to add lighter shades of blue, purple, and pink in a swirling pattern. Add some glitter to make it sparkle.
For a more realistic galaxy effect, you can also use a toothbrush to splatter white paint onto the frame to create stars. You can also use a fine-tipped brush to add small dots of white paint to represent distant stars.
If you want to take your galaxy photo frame to the next level, consider adding a 3D element. You can glue on small plastic stars or planets to give the frame a more dynamic look. You can also use glow-in-the-dark paint to make the stars and planets stand out even more.
Using 3D Printing to Make a Space-themed Photo Frame
If you have access to a 3D printer, you can use it to create a more intricate and detailed space-themed photo frame. There are many templates available online that you can download and print. You can also design your own using software like Tinkercad.
One advantage of using a 3D printer to make a space-themed photo frame is that you can customize it to fit the size of your photo. This means that you can create a frame that perfectly fits your photo, without having to settle for a standard size. Additionally, 3D printing allows you to experiment with different materials, such as wood or metal, to create a unique and personalized look.
Another benefit of using a 3D printer is that you can easily make multiple copies of the same design. This is especially useful if you want to create matching frames for a set of photos or if you want to give the frames as gifts. With a 3D printer, you can quickly and easily produce as many copies as you need, without having to go through the process of creating each frame by hand.
Creating a Custom Message on Your Space-themed Photo Frame
If you want to add a personalized touch to your photo frame, you can create a custom message. You can use a stencil or hand-paint the message onto the frame using a contrasting color. Make sure the message is centered and legible.
Making a space-themed photo frame is both fun and creative. With a bit of imagination and the right tools, you can create a beautiful and unique frame that showcases your favorite photo and reflects your personality. So go ahead and try making one yourself today!
Another way to add a custom message to your space-themed photo frame is by using vinyl lettering. You can purchase vinyl lettering in various fonts and colors online or at a craft store. Simply choose the message you want to display, apply the vinyl lettering to the frame, and smooth out any bubbles or wrinkles. This method is quick, easy, and produces a professional-looking result.