If you’ve ever wanted to bring the beauty of the night sky into your home, then making a constellation projector using a flashlight and a paper tube is the perfect project for you. This DIY project is easy, fun, and requires just a few simple materials that you probably already have lying around at home. By following the step-by-step instructions below, you can create a magical projector that will transform any room into a starry wonderland.
Gather Your Supplies: A List of Materials Required for the Project
Before you get started with this project, it’s important to gather all the necessary materials. Here are the materials you’ll need:
- A flashlight
- A paper tube
- A pencil
- A pair of scissors
Additionally, it may be helpful to have a red filter or piece of red cellophane to cover the flashlight. This will help preserve your night vision while you’re stargazing. You may also want to bring a blanket or lawn chair to make yourself comfortable while you’re outside.
Understanding Constellations: An Overview of the Star Patterns in the Night Sky
Before you start creating your constellation projector, it’s important to have a basic understanding of constellations and the star patterns in the night sky. Constellations are groups of stars that form recognizable patterns in the sky. These patterns have been named and used for navigation and storytelling for thousands of years. Some common constellations include Orion, Ursa Major, and Cassiopeia.
Constellations are not just random groupings of stars, but are actually based on the position of the stars in relation to each other. The stars in a constellation may not actually be physically close to each other, but from our perspective on Earth, they appear to be grouped together. Additionally, the same constellation may appear differently depending on the time of year and the observer’s location on Earth.
Many cultures have their own unique constellations and stories associated with them. For example, in Chinese astronomy, the constellation of the Big Dipper is known as the “Northern Dipper” and is associated with the god of literature. In Australian Aboriginal astronomy, the constellation of Orion is known as the “Three Brothers” and is associated with a creation story.
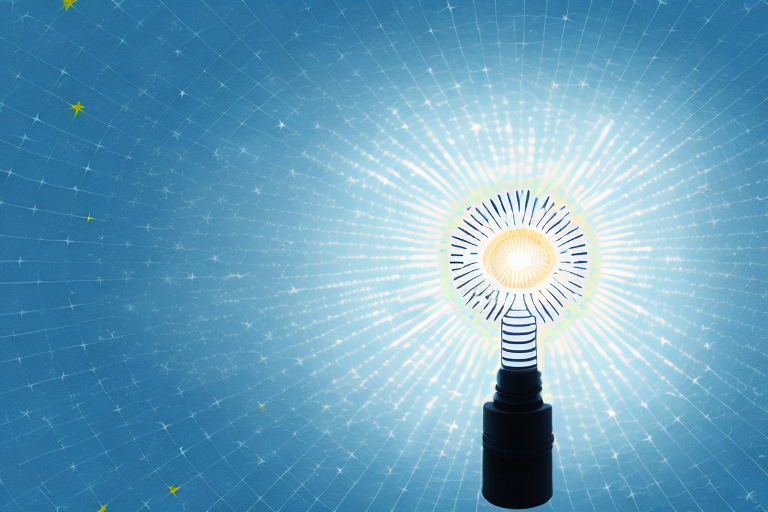
How to Choose a Flashlight for Your Constellation Projector
When it comes to choosing a flashlight for your projector, there are a few key things to keep in mind. First, make sure the flashlight is bright enough to project the stars onto the wall or ceiling. Second, consider the size of the flashlight and the paper tube you’ll be using. You want to make sure that the flashlight fits snugly into the tube and that the tube is long enough to create a good projection. Finally, consider the batteries. You want to make sure that the flashlight has enough battery life to last for the duration of your stargazing session.
Another important factor to consider when choosing a flashlight for your constellation projector is the type of bulb it uses. LED bulbs are a popular choice because they are energy-efficient and have a longer lifespan than traditional incandescent bulbs. Additionally, LED bulbs produce a brighter and more focused beam of light, which can enhance the quality of your projection.
It’s also worth considering the weight and grip of the flashlight. If you plan on holding the flashlight for an extended period of time, you’ll want to choose a model that is lightweight and comfortable to hold. Look for flashlights with textured grips or rubberized coatings to prevent slipping and improve your grip.
Preparing Your Paper Tube: Tips and Tricks for Creating the Perfect Projector
Before you start cutting out your constellation pattern, you’ll need to prepare your paper tube. Here are some tips and tricks:
- Choose a paper tube that fits your flashlight snugly.
- Cut a piece of black construction paper to fit around the outside of the tube.
Once you have prepared your paper tube, you can start creating your constellation pattern. It’s important to choose a pattern that is not too complex, especially if you are new to this craft. You can find constellation patterns online or in books. Once you have chosen your pattern, use a white pencil or chalk to draw the stars and connect them with lines to create the constellation. Make sure to leave enough space between the stars so that the light can shine through clearly. Once you have finished drawing your pattern, use a needle or pin to poke small holes along the lines of the constellation. This will allow the light to shine through and create a beautiful starry night effect.
Cutting Out the Stars: Step-by-Step Guide to Creating Your Constellation Pattern
Now it’s time to start cutting out your constellation pattern. Here’s a step-by-step guide:
- Using a star chart or guide to constellations, choose the constellation you want to create.
Once you have cut out your constellation pattern, you can use it in a variety of ways. One option is to place the pattern over a flashlight or other light source and project the stars onto a wall or ceiling. Another option is to frame the pattern and hang it on a wall as a piece of art. You could also use the pattern as a stencil and paint the stars onto a piece of fabric or other material. The possibilities are endless!
Assembling Your Constellation Projector: Putting All the Pieces Together
Now that you have all the pieces, it’s time to assemble your constellation projector. Here are the steps:
Once you have your projector assembled, you can experiment with different distances and angles to get the best projection. Try moving the projector closer or further away from the wall or ceiling to adjust the size of the constellations. You can also try angling the projector slightly to get a different perspective on the stars.
If you want to take your constellation projector to the next level, consider adding some additional features. You could try using different colored flashlights to create a more colorful projection, or add a rotating mechanism to simulate the movement of the stars in the night sky. With a little creativity, the possibilities are endless!
Testing Your Projector: How to Make Sure It Works Properly
Before you start using your projector, it’s important to test it to make sure it works properly. Here are some tips:
It’s also a good idea to check the focus and clarity of the projected image. Adjust the focus until the image is clear and sharp. If the image is still blurry, try adjusting the distance between the projector and the wall or ceiling. Additionally, make sure the projector is properly connected to your device and that the sound is working correctly if you plan on using audio with your presentation or movie.
Using Your Projector: Tips and Tricks for Enjoying a Starry Night Inside
Once you’ve tested your projector and it’s working properly, it’s time to start enjoying the stars inside. Here are some tips and tricks:
Another tip for enjoying your projector is to adjust the focus and zoom settings to get the clearest and sharpest image possible. This can make a big difference in the overall viewing experience.
If you want to take your indoor stargazing to the next level, consider adding some ambient sound effects to create a more immersive atmosphere. You can find free sound clips of things like crickets chirping or waves crashing online to enhance the experience.
Exploring Different Constellations: A Guide to Finding and Identifying Various Star Patterns
Now that you know how to make a constellation projector, it’s time to start exploring different constellations. Here are some tips for finding and identifying various star patterns:
With this DIY project, you can bring the beauty of the night sky into your home and explore different constellations from the comfort of your own couch. So grab your supplies and get started today!
One of the most popular constellations to explore is the Big Dipper, which is part of the Ursa Major constellation. It’s easily recognizable and can be seen year-round in the northern hemisphere. Another interesting constellation to explore is Orion, which is visible during the winter months and is known for its bright stars and distinctive shape.
Exploring different constellations can also be a great way to learn about astronomy and the science behind the stars. You can research the different types of stars that make up each constellation and learn about their characteristics and life cycles. This can be a fun and educational activity for both kids and adults alike.