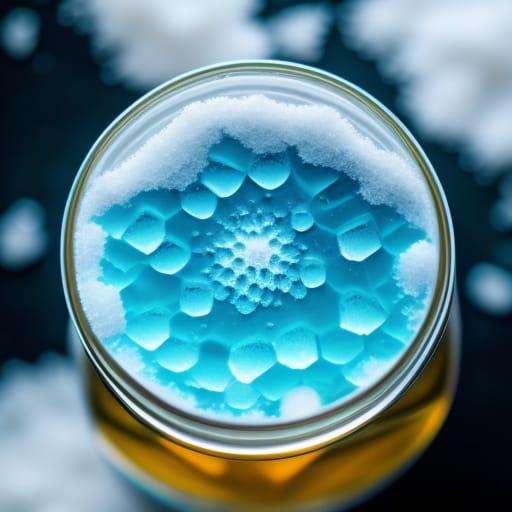
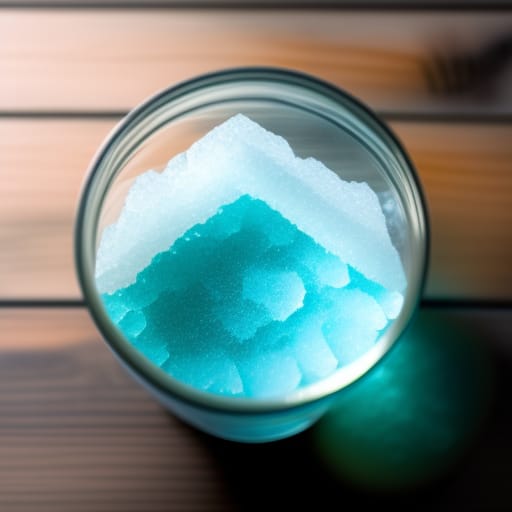
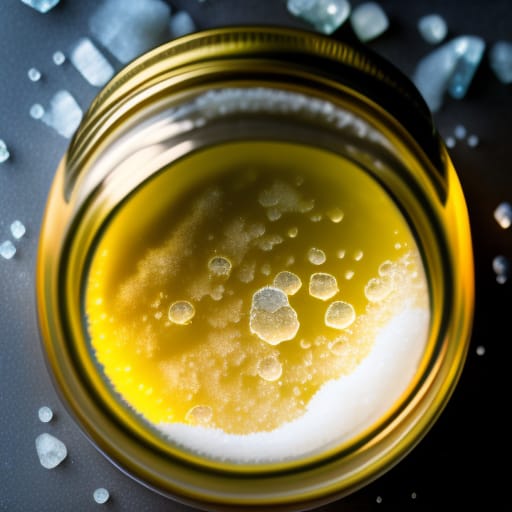
Have you ever seen photos of sparkling cave formations or gotten lost in the alien landscapes of Mars? Believe it or not, you can grow those same types of crystalline structures at home using simple, inexpensive ingredients. Growing your own Epsom salt crystals is an easy, fun science experiment with fascinating results.
In this beginner’s guide, you’ll discover how to make your own crystals that rival those found in nature. We’ll cover everything you need to know, from the science behind crystal formation to step-by-step instructions for crystal growing success. You’ll be amazed at the gorgeous, geometric structures you can create.
What Are Epsom Salt Crystals?
Epsom salt is actually a naturally occurring pure mineral compound called magnesium sulfate. It got the name Epsom salt because it was originally discovered in a bitter saline spring at Epsom in Surrey, England.
Magnesium sulfate has an atomic structure that allows the molecules to stack together in an orderly, repeating pattern when conditions are right. This ordered arrangement is what creates the characteristic shape of crystals.
Fun fact: Magnesium sulfate crystals sometimes form in caves and caverns, creating astounding formations over decades and centuries!

Why Grow Your Own Crystals?
Creating your own crystals at home is an enjoyable, educational project for both kids and adults. Here are some of the benefits and reasons to try crystal growing:
- Learn about chemistry and crystallization – Discover firsthand how chemical structures organize themselves into repeating patterns when the right saturation conditions are achieved.
- Visualize molecular geometry – Crystals express the molecular symmetry and structure of the chemical compounds they are made from.
- Develop patience – Forming good crystal specimens requires care, diligence, and plenty of waiting.
- Create unique decorations – Grow crystals over ornaments, toys, jewelry, or other objects to encase them in a sparkling mineral structure.
- Make colorful designs – Add food coloring or bath salts to create more vibrant crystals in shades of your choosing.
- Gift giving – Share your homegrown crystals by presenting them in jars or decorative boxes for friends and family.
Crystal Growing Science
The science behind forming crystals is a process called nucleation. This refers to the clustering of molecules into an orderly structure that builds upon itself. For crystal growth to occur, you first need to achieve proper levels of supersaturation.
Reaching Supersaturation
Supersaturation means the solvent (typically water) contains more dissolved solid than it can normally hold at a given temperature. This “over-saturated” solution provides the foundation for molecules to come together.
To obtain supersaturation when growing Epsom salt crystals:
- Start with warm water – The water needs to dissolve more magnesium sulfate than it can hold at cooler temps.
- Use high salt to solvent ratios – Aim for at least 1 cup salt to 1 cup water.
- Stir continuously until fully dissolved – Prevent early nucleation by mixing thoroughly.
Once you have achieved supersaturation, crystal growth happens through two primary mechanisms:
1. Nucleation
This is when the dissolved particles start clustering together into organized crystalline structures. This can occur spontaneously, or it can be induced through introducing “seed” crystals.
2. Crystal Growth
The nucleated crystals provide a template that encourages additional particles to attach in the same uniform pattern. The crystals build outward as more particles fall into alignment with the structured foundation.
How To Grow Epsom Salt Crystals
Growing impressive Epsom salt crystals is simple and rewarding when you follow a few basic guidelines. Here’s an easy crystal-growing recipe and tips for success:
Supplies Needed
- Epsom salt
- Glass jar or shallow container
- Water
- Spoon for stirring
- Pot for heating water
- Food coloring, glitter, or bath salts (optional)
- Pipe cleaners, string, sticks, or other objects to suspend in solution (optional)
Step-by-Step Crystal Growing
- Heat 1 cup of water to near boiling on the stove. The hotter the water, the more Epsom salt it will dissolve.
- Slowly stir in 1 cup of Epsom salt until it fully dissolves into the water. Keep heating and stirring until no more salt will dissolve.
- Carefully pour the hot salt solution into the glass container you’ll use for crystallization.
- Optional: Add a few drops of food coloring, glitter, or dried bath salts to the solution if you want colored crystals. Stir well.
- Suspend pipe cleaners, strings, or other objects in the solution if you want the crystals to grow on them.
- Allow solution to cool undisturbed for several hours or overnight. Don’t jostle or move it during this time.
- In 1-3 days, large crystals will begin to form in the solution. Allow 7-14 days for crystals to reach full size.
- To remove finished crystals, use a slotted spoon or drain the remaining liquid from the container.

Tips for Growing Large, Well-Formed Crystals
- Use containers with smooth, straight sides like jars or drinking glasses. Avoid containers with curved sides.
- Cover the container to allow slow evaporation but don’t seal it completely airtight.
- Raise the temperature about 5°F above room temperature to encourage supersaturation.
- Add a pre-made “seed” crystal to provide a template for further growth.
- Use purified or distilled water for fewer impurities.
- Allow 7-14 days for large crystals to fully form. Don’t rush it!
Here’s a handy table outlining optimal conditions for Epsom salt crystal growth:
| Parameter | Ideal Range |
|---|---|
| Epsom Salt to Water Ratio | 1:1 to 2:1 |
| Water Temperature | 130°F to 140°F |
| Room Temperature | 70°F to 80°F |
| Time to Grow | 7 days minimum |
What Affects the Results?
Growing picture-perfect crystals involves achieving a delicate balance of conditions. Here are some key factors that impact Epsom salt crystal size, shape, clarity, and creation time:
- Concentration of the solution – More dissolved Epsom salt allows larger crystals to grow. Aim for saturation.
- Temperature – Warmer temperatures mean the water can hold more salt in solution. Cooler temps make crystals form faster.
- Presence of seed crystals – Introducing small starter crystals provides a template for more crystal growth.
- Agitation – Stirring promotes dissolution. But leaving it undisturbed allows better crystal formation.
- Impurities – Using pure ingredients results in nicely shaped, clear crystals. Impure compounds cause flaws.
- Evaporation rate – The slower the evaporation, the larger the crystals can grow. Covering the container moderates evaporation.
- Container shape – Straight sides encourage the characteristic geometric shapes. Curved sides result in distorted crystals.
The Structure and Shapes of Crystals
The structures and shapes that crystals exhibit are a direct expression of their internal molecular order. The study of how crystals form based on their atomic composition is known as crystallography.
Crystal Lattice Structure
The molecules or atoms within a crystal are precisely aligned along invisible lattice points in three-dimensional space. This unseen lattice gives the crystal its rigidity and angular faceting. There are seven possible lattice systems crystals can form based on their molecular geometry.
Crystal Faces
The flat polygonal surfaces that terminate a crystal are called crystal faces. The angles where these faces intersect are determined by the crystal’s internal structure. Faces grow at different rates, resulting in the final characteristic shape.
Symmetry Elements
Most crystal structures contain various symmetry elements like mirror planes, rotational axes, or inversion centers. These elements of symmetry are visible in the crystal’s geometric patterns and repeating forms.
Crystal Defects
Occasionally a break in the repeating pattern occurs within a crystal structure, resulting in a crystal defect. These can form during growth and cause internal strain. Defects are revealed externally by distorted crystal shapes.
Crystal Habit
The descriptive growth shapes a particular crystal exhibits based on its internal structure and environmental conditions is known as its habit. For example, halite crystals often form cubes while quartz frequently occurs as six-sided prisms.

What Can You Do With Homegrown Crystals?
Once you’ve harvested your homegrown crystals, there are endless creative possibilities for putting them to use:
- Arrange them in jars or bowls as sparkling decorations.
- Create “crystal gardens” by allowing them to grow on wire frames, sticks, or ornaments.
- Make natural art by growing crystals on pins to wear as brooches or on paper to hang as art.
- Use small crystals on top of candles for a mystical ambiance.
- Give jars of crystals as gifts for holidays, birthdays, or winter solstice.
- Make your own crystal-infused bath salts by crushing crystals and adding to bath products.
- Create stunning place cards for events by growing crystals on cards or other bases.
- Help kids make ice crystal “wands” by growing crystals on Popsicle sticks.
With this beginner’s guide, you now have all the information you need to start growing your own magical crystals at home using Epsom salt. It’s an amazing DIY science experiment that results in gorgeous, natural geode-like structures. Give it a try and capture the mystical beauty of crystals!
Frequently Asked Questions
What is the best crystal growth method for beginners?
The easiest crystal growing method for beginners is the classic jar method. Simply mix 1 cup Epsom salt per 1 cup hot water until fully dissolved. Pour into a glass jar, add seed crystals if desired, and let sit undisturbed for 1-2 weeks.
What temperature should I use to make an Epsom salt saturated solution?
To fully saturate the water, heat it to 130°F – 140°F before adding the Epsom salt. The warmer the water, the more salt it can dissolve.
How long does it take for crystal formation to occur?
It can take 1-3 days for the initial crystals to appear. Allow at least 1-2 weeks total for large, well-formed crystals to fully develop. Patience is key for crystal growth.
What causes crystal defects or imperfections?
Impurities in the water, jostling the solution, temperature fluctuations, or an uneven container shape can all introduce defects that alter crystal shapes.
Can I grow crystals without seed crystals?
Yes, you can grow Epsom salt crystals without adding seed crystals. They will form spontaneously but may take longer and be smaller without a foundation.
With this beginner’s guide, you now have all the tips, steps, and FAQs to start growing your own beautiful crystals at home. It’s easy and fun when you follow the science-backed techniques outlined here. Give Epsom salt crystal growing a try!