Are you looking for a unique way to add a touch of magic to your home? Creating a constellation wall art with glow-in-the-dark paint and stencils might be just what you need. Not only does it create a beautiful and mystical ambiance, it is also a fun and creative project to undertake. Here’s a comprehensive guide on everything you need to know to create your own stunning constellation wall art.
The Benefits of Using Glow-in-the-dark Paint for Wall Art
Glow-in-the-dark paint is a popular choice for wall art due to its ability to produce a stunning effect in the dark. It adds a whole new dimension to the visual appeal of your home, creating a magical ambiance that is perfect for parties, events, and even just a relaxing night with family and friends. Glow-in-the-dark paint is also long-lasting, easy to apply, and affordable, making it an ideal choice for DIY projects.
Another benefit of using glow-in-the-dark paint for wall art is that it can be used to create unique and personalized designs. You can use stencils or freehand drawing to create your own designs, or even mix different colors of glow-in-the-dark paint to create a custom color scheme. This allows you to express your creativity and add a personal touch to your home decor.
Additionally, glow-in-the-dark paint is not just limited to wall art. It can also be used on other surfaces such as furniture, accessories, and even clothing. This versatility makes it a great option for those who want to add a touch of fun and whimsy to their everyday items. Imagine having a glowing coffee table or a pair of sneakers that light up in the dark!
Materials Needed to Create a Constellation Wall Art With Glow-in-the-dark Paint and Stencils
You’ll need a few basic materials to create your constellation wall art. These include:
- Glow-in-the-dark paint
- Stencils
- Paint brushes
- Masking tape
- A dark-colored paint for the background
- A pencil or chalk
- A ruler or straight edge
In addition to these basic materials, you may also want to consider using a star chart or reference guide to help you accurately recreate the constellations. This can be especially helpful if you’re not familiar with the night sky or the specific constellations you want to include in your artwork. You can also experiment with different colors of glow-in-the-dark paint to create a more dynamic and visually interesting piece.
Step-by-step Guide to Creating a Constellation Wall Art With Stencils
Before you start, prepare your wall surface by cleaning it thoroughly and allowing it to dry. Once you have your materials, follow these steps:
- Paint the background of your wall art with a color that compliments the glow-in-the-dark paint. Allow the paint to dry completely.
- Using a pencil or chalk, mark out the spots where you’ll be painting the stars.
- Place the stencil over the marked spots, ensuring it’s properly aligned and secured in place with masking tape.
- Use a soft paintbrush to apply the glow-in-the-dark paint over the stencil. Make sure you apply enough paint to fully cover the stencil and create a smooth, even surface.
- Carefully remove the stencil while the paint is still wet, taking care not to smudge or smear the design.
- Repeat steps 3-5 for each star in your constellation wall art design.
- Allow the paint to dry completely before turning off the lights and admiring your new constellation wall art!
For a more personalized touch, consider adding additional elements to your constellation wall art. You can add the date of a special event, such as a wedding or birthday, by painting the numbers in the sky. You can also add a quote or phrase that is meaningful to you or your family.
Another fun idea is to create a scavenger hunt for your kids or guests. Paint a few extra stars in the sky and give them a list of constellations to find. This is a great way to make your wall art interactive and educational!
Techniques for Applying Glow-in-the-dark Paint to Your Wall Art
In addition to using stencils, you can also apply the glow-in-the-dark paint free-hand to create unique designs and shapes. To do this, simply use a thin paintbrush to create the outlines of your design, and then fill it in with the glow-in-the-dark paint. You can also use different brushes and techniques to create different textures and effects.
Another technique for applying glow-in-the-dark paint to your wall art is to use a sponge. Dip the sponge into the paint and dab it onto the wall to create a speckled or textured effect. This technique works well for creating a starry night sky or galaxy-themed wall art. Additionally, you can mix the glow-in-the-dark paint with other colors to create a unique color palette for your design. Experiment with different techniques and tools to create a one-of-a-kind glow-in-the-dark wall art piece.
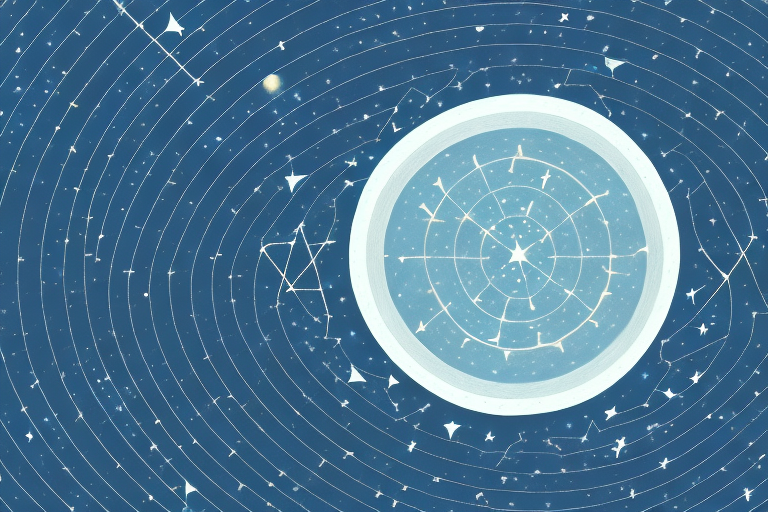
How to Choose the Right Stencils for Your Constellation Wall Art
When choosing stencils for your constellation wall art, it’s important to select ones that are the right size and shape for your design. Consider the overall size of your wall art, as well as the size and placement of each individual star. You can use a mix of different-sized stencils to create a more dynamic and visually interesting design.
Another important factor to consider when choosing stencils for your constellation wall art is the material they are made of. Some stencils are made of thin plastic or paper, which can tear easily and may not provide a clean, crisp edge. Look for stencils made of durable materials like mylar or metal, which will give you a more precise and professional-looking result. Additionally, consider the complexity of the stencil design and your own skill level. If you’re new to stenciling, start with simpler designs and work your way up to more intricate ones.
Tips for Creating Symmetrical and Balanced Constellation Designs
Creating a symmetrical and balanced constellation design is key to creating a visually appealing final product. One tip is to use masking tape to mark the center point of your wall art before starting, and use a ruler to ensure the placement of each star is even and balanced. You can also create a more cohesive design by aligning the stars along imaginary lines and angles.
Another tip for creating a symmetrical and balanced constellation design is to choose a color scheme that complements the room’s decor. This will help the wall art blend seamlessly with the rest of the space. Additionally, consider the size and spacing of the stars. Varying the size and spacing can add interest and depth to the design.
It’s also important to consider the lighting in the room when creating a constellation design. Using glow-in-the-dark stars or adding string lights can enhance the effect and create a magical atmosphere. Experiment with different lighting options to find the perfect balance for your space.
Ideas for Incorporating Multiple Colors into Your Wall Art Design
Glow-in-the-dark paint comes in a variety of colors, giving you the flexibility to create a fully customized constellation wall art design. Consider using different shades of blue, green, and purple to create a more dynamic and interesting effect, or incorporate other colors that complement the rest of your home decor.
Another way to incorporate multiple colors into your wall art design is by using a color blocking technique. This involves painting different sections of your canvas or wall in different colors, creating a bold and eye-catching design. You can choose colors that complement each other or go for a more contrasting look.
If you want to add a touch of elegance to your wall art, consider using metallic paints. Gold, silver, and bronze can add a luxurious and sophisticated feel to your design. You can use metallic paints to create a subtle accent or go all out and create a bold and shiny statement piece.
How to Make Your Constellation Wall Art Stand Out with Accent Features
Adding accent features, such as a textured or glittery paint, can help make your constellation wall art stand out even more. Consider using an iridescent paint to add a subtle sparkle, or using a metallic paint to create a more dramatic effect.
In addition to using accent paints, you can also incorporate other materials into your constellation wall art. For example, you could use small mirrors to represent stars, or add small LED lights to create a twinkling effect. Another option is to use different types of paper or fabric to create a layered effect, adding depth and dimension to your artwork.
When choosing accent features, it’s important to consider the overall aesthetic of your space. If you have a minimalist or modern decor style, you may want to opt for subtle accents that complement the simplicity of your space. On the other hand, if you have a more eclectic or bohemian style, you may want to go all out with bold and colorful accents that make a statement.
How to Properly Maintain and Care for Your Glow-in-the-dark Wall Art
To ensure your wall art lasts as long as possible, it’s important to properly maintain and care for it. Avoid exposing it to direct sunlight, as this can fade the glow-in-the-dark paint over time. Dust your wall art regularly with a soft, dry cloth to keep it looking clean and vibrant.
Now that you have a complete guide on how to create your own constellation wall art with glow-in-the-dark paint and stencils, it’s time to get started on your own project. With a little creativity and a few basic materials, you can add a touch of magic and whimsy to any room in your home!
Another important tip for maintaining your glow-in-the-dark wall art is to avoid using any harsh chemicals or cleaning products on it. These can damage the paint and cause it to lose its glow. Instead, use a mild soap and water solution to gently clean any stubborn stains or marks.
If you notice that your wall art is starting to lose its glow, don’t worry! Simply expose it to bright light for a few hours to recharge the paint. This can be done with natural sunlight or with a bright lamp or flashlight.