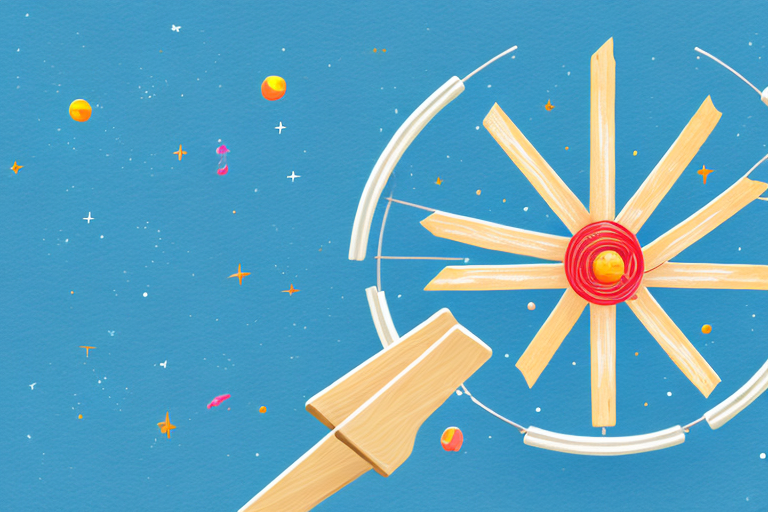
Have you ever wanted to build your own catapult? This DIY project is perfect for budding engineers and space enthusiasts. In this article, we’ll walk you through step-by-step instructions on how to build a space-themed catapult using ordinary materials like popsicle sticks, rubber bands, and some household tools.
Materials Required to Build a Space-themed Catapult
Before we dive into the instructions, let’s take a look at the materials you’ll need to construct your very own space-themed catapult:
- 50-60 Popsicle sticks
- 25 Rubber bands
- Glue gun and glue sticks
- Scissors
- Sandpaper
- Measuring tape
- Marker pen
Make sure you have all the materials ready before you start building!
Additionally, you may want to consider adding some decorations to your space-themed catapult. Some ideas include painting the Popsicle sticks with metallic silver or gold paint, or adding stickers or decals of planets, stars, or spaceships. These decorations will give your catapult a unique and personalized touch!
Step-by-Step Guide to Building a Space-themed Catapult
Once you have all the materials, you can start building your space-themed catapult:
- Start by laying out 15 Popsicle sticks flat on the table.
- Using a hot glue gun, glue two Popsicle sticks together on each end to form a rectangle. Repeat this step, so you have three rectangles in total.
- Take two of the rectangles and glue them together at a 90-degree angle to form an L shape.
- Take the third rectangle and glue it to the other end of the L shape to form a U-shape. This is the base of our catapult.
- Now let’s make the arm of the catapult. Take 10 Popsicle sticks and glue them together to form a long, thin rectangular shape.
- Next, take two Popsicle sticks and glue them together at the ends to form a V-shape.
- Glue the V-shape to one end of the rectangular arm, so it sits at a 45-degree angle.
- Glue a rubber band around the bottom end of the V-shape and attach it to the base of the catapult.
- Cut three notches around the top part of the arm, making sure they are evenly spaced. These notches are what will hold the payload.
- Glue a rubber band across the notches and attach it to the base of the catapult. This is the sling part of the catapult.
And there you have it, your very own space-themed catapult! But we’re not finished yet. Let’s look at some tips and tricks to make sure your catapult is safe and functional.
Firstly, make sure to use a hot glue gun in a well-ventilated area and keep it away from children. Secondly, test your catapult with small, lightweight objects before using heavier ones. This will help you determine the optimal angle and force needed for launching. Lastly, have fun with your space-themed catapult and experiment with different payloads, such as mini planets or toy spaceships!
Tips for Ensuring the Catapult is Safe and Secure
Catapults can be dangerous if not constructed properly, so follow these tips to ensure your safety:
- Make sure the glue is dry and the structure is secure before using it.
- Do not point the catapult at any person or animal.
- Beware of the tension in the rubber bands. They can snap back and cause injury.
Additionally, it is important to keep the catapult away from any flammable materials or sources of heat. The materials used to construct the catapult, such as wood and glue, can easily catch fire and cause harm.
Furthermore, always wear protective gear, such as safety goggles and gloves, when using the catapult. This will help prevent any injuries that may occur from flying debris or accidental contact with the rubber bands.
How to Test and Adjust Your Catapult for Maximum Distance
Once your catapult is complete, it’s time to test it out. Follow these steps:
- Place a small object in the sling. This can be a marshmallow, a grape, or any lightweight object.
- Pull back the arm until the sling is taut. Hold it steady with one hand.
- Use your other hand to press down on the arm and release the payload.
- Repeat the process a few times to get a feel for the distance and trajectory.
- If you want to increase the distance, try adjusting the angle of the arm. Lift or lower the back end until you get the desired outcome.
Now that your catapult is functional, let’s look at some creative ways to decorate and personalize it.
One way to personalize your catapult is to paint it with your favorite colors or designs. You can use acrylic paint or spray paint to give it a unique look. Another option is to add stickers or decals to the arm or base of the catapult.
If you want to take your catapult to the next level, you can also experiment with different types of ammunition. Try using different sizes and shapes of objects to see how they affect the distance and accuracy of your catapult. You can even try launching small water balloons or paper airplanes for a fun twist on the classic catapult game.
Creative Ways to Decorate Your Space-themed Catapult
Make your catapult truly unique by adding some fun decorations:
- Paint the base and arm with outer space designs like stars and planets.
- Add some space-themed stickers or decals.
- Attach a small astronaut figurine to the top of the arm.
- Write the name of your catapult on the base using a marker pen.
Fun Games and Activities You Can Play with Your Catapult
Now that your catapult is complete and personalized, let’s look at some fun games and activities to play with it:
- Make a target board by drawing a bullseye on a cardboard box. Try to hit the target from different distances.
- Set up an obstacle course with different items to launch over.
- Create a “bowling alley” by lining up water bottles and trying to knock them over with your catapult.
- Challenge your friends or family to a distance competition and see who can launch their object the farthest.
But the fun doesn’t have to stop there! Here are two more games you can play with your catapult:
- Build a castle out of cardboard boxes and use your catapult to launch “boulders” (small balls or objects) at it. See how many hits it takes to knock down the castle walls.
- Set up a target course with different objects to hit, such as plastic cups or stuffed animals. Assign different point values to each target and see who can score the most points in a set amount of time.
Building Variations: How to Modify the Design for Different Launch Angles
If you want to experiment with different launch angles, try these modifications to the base:
- Add an extra rectangle to the base for stability.
- Attach two V-shaped arms to the base and connect them using another rectangle. This is called a “double-arm” catapult.
- Raise or lower the height of the V-shaped arm to change the launch angle.
Another way to modify the design for different launch angles is to adjust the length of the V-shaped arms. Shorter arms will result in a lower launch angle, while longer arms will result in a higher launch angle. Keep in mind that changing the arm length may also affect the overall stability of the catapult, so be sure to test it out before launching any projectiles.
The Science Behind the Mechanics of a Catapult
The catapult operates on the principles of potential and kinetic energy. When you pull back the arm, you are storing potential energy in the system. When you let go, the potential energy is converted into kinetic energy, propelling the object forward. The different launch angles and arm lengths influence the amount of potential energy stored and the resulting distance and trajectory of the object.
Another important factor in the mechanics of a catapult is the tension in the ropes or springs used to pull back the arm. The greater the tension, the more potential energy can be stored in the system. However, too much tension can cause the arm to snap back too quickly, resulting in a less controlled launch.
Additionally, the weight and shape of the object being launched can also affect the catapult’s performance. Heavier objects require more potential energy to launch, while objects with irregular shapes may be more difficult to launch with accuracy due to their unpredictable trajectories.
How to Troubleshoot Common Issues with Your Catapult
If you experience any issues with your catapult, try these solutions:
- If the arm is not launching the object far enough, try tightening the rubber bands or adjusting the angle of the arm.
- If the payload keeps falling out of the notches, try adding some extra glue or tape to secure it in place.
- If the base is wobbly, add more glue or extra Popsicle sticks for stability.
And there you have it, a comprehensive guide on how to build a space-themed catapult and all the tips, tricks, and variations you can use to have fun with it. Happy launching!
However, if these solutions do not work, there may be other issues with your catapult that require further troubleshooting. One common issue is the tension of the rubber bands. If the rubber bands are too loose, the arm may not launch the object far enough. Conversely, if the rubber bands are too tight, they may snap or cause the arm to break. Try adjusting the tension of the rubber bands to find the optimal level for your catapult.
Another issue that may arise is the weight of the payload. If the payload is too heavy, the arm may not be able to launch it far enough. Try using lighter objects or adjusting the design of the arm to accommodate heavier payloads.