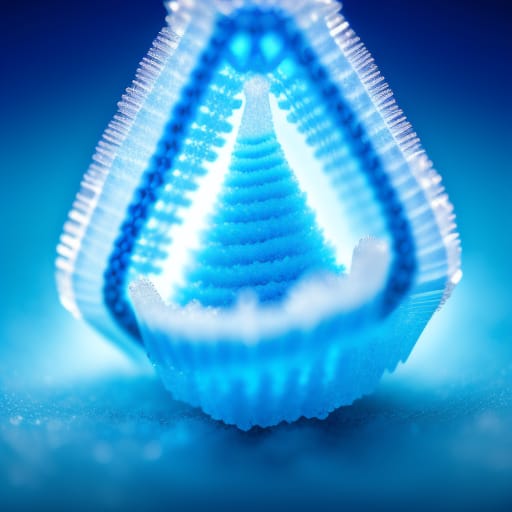
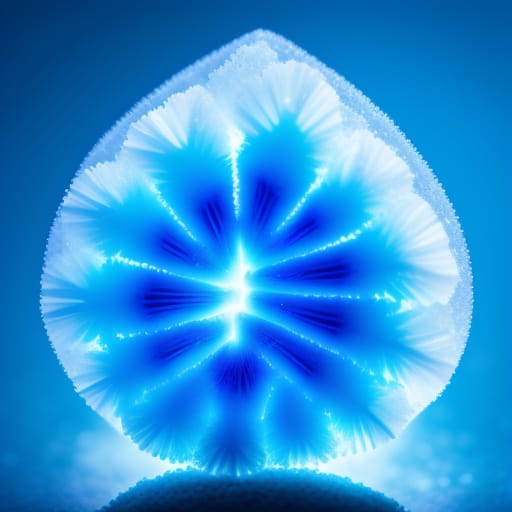
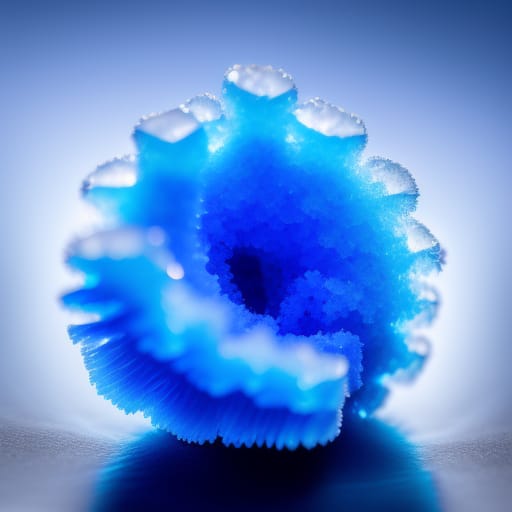
Growing borax crystals is a fun and educational science experiment that both kids and adults can enjoy. It’s cheap and easy to do, and you end up with gorgeous, sparkling borax crystals in amazing shapes and colors.
But one question many people have when attempting this experiment is – how long does it actually take for the borax crystals to fully form?
In this beginner’s guide, we’ll walk through everything you need to know about the crystal growing timeline and what factors affect it.

An Overview of Growing Borax Crystals
Before we dive into timelines, let’s do a quick overview of what’s involved in growing borax crystals for those who are new to the process:
- Materials needed – borax powder, water, a pan or pot, pipe cleaners or popsicle sticks, food coloring (optional), containers or jars
- Steps – Boil water on the stove, mix in borax powder to create a super-saturated solution, add food coloring if desired, dip pipe cleaners or popsicle sticks into the solution, and let crystallization begin on the suspended shape
- Crystal formation – As the borax solution cools and evaporates, borax crystals will start to form on the pipe cleaners or popsicle sticks, slowly growing larger and more defined over hours/days.
It’s an easy, fun experiment that allows you to grow some truly stunning crystals in creative shapes and designs. The crystals can be preserved and turned into ornaments or decorations.
Now let’s get into the question of timing…
How Long Does It Take Borax Crystals to Form?
The exact timeline for growing borax crystals can vary quite a bit. It can take anywhere from 4-7 hours to 1 week for full crystal formation.
However, you will often start to see small crystals and crystal “Seed” formations within the first few hours.
Several factors impact the growth rate:
Concentration of the Borax Solution
The more borax powder you dissolve into the water, the faster crystals will grow. Aim for a fully saturated or even slightly supersaturated solution.
Use 1 cup of water per 3-4 tablespoons of borax powder. Heat and stir continuously until fully dissolved.
Temperature
Heating the water helps dissolve more borax, leading to faster crystallization. But the solution also needs to cool down for crystals to form.
The cooling process can be sped up by placing containers in the fridge or outside if it’s cold.
Surface Area
More surface area on the suspended shape means more spots for crystals to attach and develop.
Items like pipe cleaners have lots of nooks and crannies for crystals to start growing.
Disturbance/Vibration
Leaving the solution undisturbed allows crystals to grow uninterrupted. Vibrations can cause crystals to crack or fall off the suspended item.
So place containers somewhere stable and quiet.
Evaporation Rate
As water evaporates from the solution, crystals have an easier time forming.
Use more shallow, wide containers, and don’t cover them completely to allow for evaporation.
Supersaturation Levels
A supersaturated solution has more borax dissolved than the water can normally hold at that temperature.
Supersaturation encourages faster crystallization. Boil water and allow maximum borax to dissolve before cooling.

Typical Borax Crystal Growing Timeline
Now let’s look at a general timeline for crystal growth and what to expect.
0-4 hours:
- The solution starts cooling down. Very small seed crystals may start to form on the suspended item. Look closely!
4-8 hours:
- More visible small crystals and crystal clusters will appear. The solution appears cloudy or opaque.
8-24 hours:
- Crystals are noticeably larger and may merge together into new shapes and designs naturally. The solution gets clearer as crystals form.
1-3 days:
- Rapid crystal growth. Intricate crystalline structures take shape. Suspended items may be fully encrusted in crystals. The solution is very clear with minimal borax left dissolved.
3-7 days:
- Crystallization slows and stabilizes. Crystals reach maximum size and perfection. Unique shapes and arrangements finalized.
1 week+:
- Borax crystals are fully formed! Maximum visual beauty achieved.
This is just a rough timeline, but it illustrates what the process looks like. Specific timings will vary based on all the factors discussed earlier.
Patience is key, as borax crystals can’t be rushed. But it’s amazing to watch them slowly grow more spectacular each day!
Speeding Up Crystal Growth
If you want to speed up the crystallization as much as possible, here are a few tips:
- Use very hot water when preparing the solution (close to boiling)
- Dissolve more borax powder – up to 4 tablespoons per cup of water
- Allow maximum evaporation by using shallow, wide containers
- Don’t cover the containers as the solution cools
- Place containers in the fridge overnight to quicken cooling
- Use pipe cleaners or other items with lots of surface area
- Keep the solution very still by placing in an undisturbed spot
Combining all these tricks can decrease the growth timeline to 5-6 days in ideal conditions.
Common Questions about Borax Crystal Timing
Here are answers to some other common questions people have about the timing and process of growing borax crystals:
How do I know when the crystals are fully grown?
Crystals stop increasing in size, take on well-defined geometric shapes, and look perfectly crystalline and opaque. The solution will appear completely clear.
What if crystals aren’t forming at all?
The solution may not be concentrated enough. Try adding more borax and re-boiling. Or give it more time.
Can I speed it up even more than 5-6 days?
It’s difficult – borax crystal formation relies on solution chemistry that can’t be rushed too much. Have patience for the best results.
What’s the maximum crystal size possible?
Around 1-2 inches in length. Giant crystals take weeks to form in ideal lab conditions. For home experiments, crystal size depends on borax levels and surface area.
Will crystals disappear if I leave them too long?
No, they’ll remain stable once fully formed. Eventually, the remaining solution will fully evaporate away.
Can I reuse the solution?
Yes, add more borax until saturated again. But fresh batches make the most flawless crystals.
What happens if I shake or disturb the solution as crystals grow?
They can fall off or crack. Crystals are fragile until fully set, so keep containers completely still.
Fun Variations for Crystal Experiments
While the basic borax crystal recipe requires just borax, water, and a pipe cleaner, there are many fun variations you can try:
- Add food coloring – dye your crystals blue, red, green, etc. Use light colors for best results.
- Use different-shaped pipe cleaners – twist into spirals, hearts, and stars to grow crystals in that shape
- Suspend other items – try Lego pieces, sticks, plastic toys for unique crystals
- Make crystal gardens – layer crystals in jars with beads, rocks, sand, and figurines
- Add glitter – for sparkly crystals. Must use a borax solution strong enough to overcome glitter’s repelling properties.
- Suspend over glass – dangle pipe cleaner over the glass jar lid to grow downward crystals like an icy crystal chandelier!
Let your creativity run wild and try to grow the most unique borax crystals possible. Just keep in mind that unusual items may impact crystal growth speed.
Ensuring Long-Lasting Crystal Integrity
Borax crystals will last indefinitely if cared for properly. Here are some tips to preserve their beauty:
- Allow crystals to fully air dry before handling or they can break apart
- Detach gently from pipe cleaners using tweezers or pliers
- Handle with care to avoid cracks or breakage
- Display out of direct sunlight to prevent fading
- Avoid excessive heat, moisture, or rapid temperature changes
- Use clear acrylic spray to seal the surface and maintain shine
- Dust gently with a soft brush to remove accumulated particles
- Store in sealed boxes with dividers and padding to prevent scratching
With a little precaution, your borax crystals can dazzle for many years to come!

Fun for All Ages: Growing Borax Crystals
In summary, growing borax crystals makes for an engaging science experiment that fascinates both children and adults. With simple household materials, you can grow gorgeous crystalline structures in all shapes and colors.
It does require patience, as full crystal formation can take 4-7 days up to 1-2 weeks depending on your methods. But that makes the end result even more rewarding.
Understanding the chemistry and timeline for crystal growth allows you to plan your project for maximum success. And you can apply creative variations for truly one-of-a-kind crystalline art pieces.
So gather your materials, put on your lab coats, and enjoy the magical science and beauty of growing borax crystals!
Here are 5 additional FAQs to add to the end of the article:
What are the best conditions for growing borax crystals quickly?
The fastest borax crystal growth happens in a very concentrated, supersaturated solution kept at room temperature in a quiet, undisturbed area. Use hot water to dissolve more borax, allow maximum evaporation, and place the containers somewhere free of vibrations. Proper conditions can decrease the timeline to under 1 week.
Can I make giant borax crystals?
It’s difficult to grow very large crystals at home. In lab settings, crystals can reach 1-2 inches with extremely slow growth over weeks to months in purified setups. For fun science experiments, aim for smaller crystals in interesting shapes by changing up the suspended objects.
Do I need any special tools or equipment to grow borax crystals?
No, all you need are basic household materials – borax powder, water, a pan or pot, some pipe cleaners, popsicle sticks or craft sticks, and jars or containers for the solution. Optional extras are household food coloring, glitter, and acrylic spray. No special tools are required.
What happens if I use impure water?
It’s best to use distilled or filtered water. Tap water with minerals and contaminants can inhibit crystal growth and create cloudy crystals. If using tap water, let it sit for 24 hours so chlorine can evaporate before using it to make the solution.
Can I let my kids do this experiment by themselves?
Supervise young children as the process involves boiling water on the stove. But kids as young as 5 or 6 can participate by preparing pipe cleaner shapes, mixing colors, and observing the crystals grow. It’s a fun, educational family activity. Just monitor for safety around hot water.