Have you ever looked closely at a crystal and marveled at its perfect geometric shape and shiny facets? Crystals are stunning examples of organized structure that can form within minerals and rocks. While you may think that growing your own crystals requires years of specialized knowledge, it can actually be a fun science experiment for all ages to try at home! In this beginner’s guide, you’ll learn everything you need to get started with crystal growing yourself.
What Are Crystals and How Do They Form?
Crystals are solids made up of a repeated geometric pattern of molecules, atoms, or ions. The smallest unit that contains the overall structure of a crystal is called the crystallographic unit cell. Crystals can form within minerals as these materials move from a disordered state to an ordered one during solidification. The process of crystals forming is known as crystallization.
There are several basic steps in the crystallization process:
- Nucleation – Crystallization starts with nucleation, which is when the molecules/atoms/ions start coming together into an ordered structure. This can happen around a tiny speck of dust or imperfection that seeds the crystal formation.
- Growth – Once the crystal nucleus forms, further molecules/atoms/ions add on in a structured way, causing the crystal to grow larger. Growth happens faster in one direction, along the crystal’s internal structure.
- Faceting – As growth continues, flat crystal faces start to develop, producing the angled facets that crystals are known for.
- Termination – The final step is termination, when the crystal stops growing, usually due to a depletion of material or a change in conditions. The result is a complete structure with defined geometric faces.
The most common natural crystals are minerals like quartz, calcite, and salt that solidify out of water solutions. However, crystals can form from other liquids, gases, or melts too when the conditions are right.
What Do You Need for Crystal Growing?
Growing your own high-quality crystals requires just a few supplies:
Chemicals
- Crystallization material – This is the starting material that will crystallize, usually a powdered salt, sugar, or other soluble chemical compound. Some common options are sodium chloride, potassium aluminum sulfate, sodium borate, or copper sulfate.
- Solvent – The crystallization material will dissolve into a solvent like water, alcohol, or acetone. Make sure the solvent fully dissolves the material.
- Impurities – Small amounts of impurities can be added to influence crystal size and shape. Common impurities are sodium chloride or charcoal bits.
Equipment
- Glass jar or beaker – Choose a straight-sided glass vessel for holding the crystal growing solution. It should be transparent to observe crystals.
- String – To suspend crystals in the solution, tie the string around a pencil or chopstick laid across the top of the jar.
- Stirring implement – Use a spoon, glass rod, or chopstick to stir the solution occasionally.
- Filter paper – Coffee filters or filter paper are useful for separating grown crystals from the liquid.
- Storage containers – Have sealable vials or bags ready to safely store the harvested crystals.
- Safety gear – Use gloves, goggles, and an apron when handling chemicals. Work in a well-ventilated area.
Step-By-Step Crystal Growing Process
Follow these steps for guaranteed crystal growing success:
1. Prepare your equipment
Thoroughly clean and dry any glassware with soap and water. Assemble materials and safety gear so everything is ready.
2. Make a saturated solution
Add a large excess of your crystallization material to the solvent in the jar. Stir vigorously until no more material will dissolve. This saturated solution is crucial for crystal growth.
3. Allow slow evaporation
Cover the jar loosely and place it somewhere free of vibrations. As the solvent slowly evaporates over hours or days, the solution will become supersaturated, forcing crystallization.
4. Suspend seed crystals (optional)
For larger, evenly shaped crystals, you can try suspending a clean “seed” crystal in the solution using string. This gives the crystals a foundation to build upon as they grow.
5. Encourage crystal growth
Periodically inspect the solution. Once tiny crystals start forming, don’t disturb the jar and allow growth to continue undisturbed for days or weeks. Maintain constant temperature.
6. Harvest your crystals
When growth looks complete, use filter paper to strain out the crystals. Rinse and dry them fully before placing them in storage containers.
Crystal growing lab set up with jar, string, and solution. Image by Markus Spiske via Unsplash.
Crystal Growing Tips
- Use highly purified water for the best crystal formation.
- Filter the solution first to remove impurities and dust.
- Try to maintain a constant temperature around 65-75°F.
- Periodically inspect and gently stir the solution to re-dissolve any crystals forming on the bottom.
- Be patient! Growing large crystals can take from 5 days up to 2 months.
- If crystals won’t form, try a higher super-saturation or suspending seed crystals.
Fun Crystal Growing Projects
Beyond making basic crystals, there are lots of creative experiments you can try:
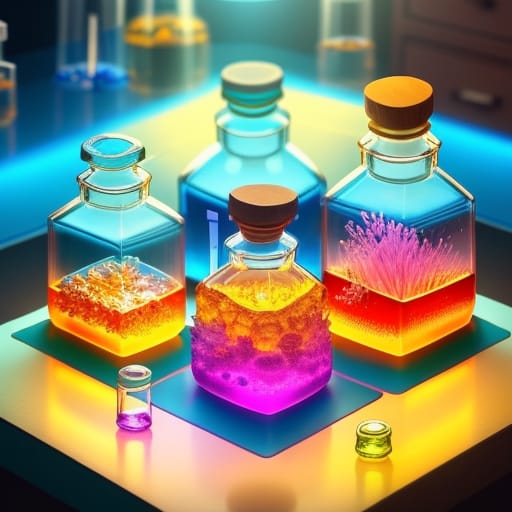
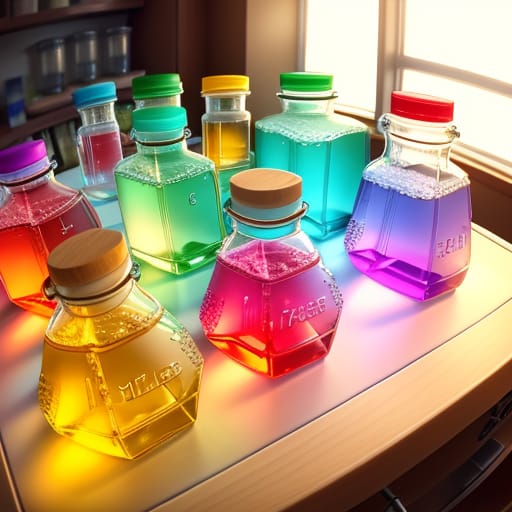
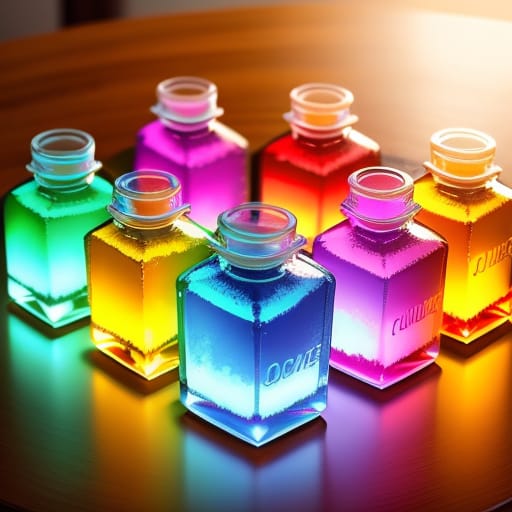
- Grow colored crystals by adding food dyes to the solution.
- Make sand crystals by dripping salt solutions into beach sand.
- Grow giant crystals by suspending a string in the solution and allowing crystals to form on it.
- Grow crystals in eggshells by suspending them in the solution.
- Create crystal snowflakes by letting solutions crystallize on glass or wire.
- Grow crystals on rocks or sticks to make decorative crystal gardens.
The possibilities are endless! Take good notes each time about the methods, solutions, and results to refine your technique.
Crystal Growing Kits
For beginners and kids especially, getting started with a crystal growing kit can make the process easy and successful. Some of the best kits include:
National Geographic Mega Crystal Growing Lab
- Comes with real geodes and 8 types of crystals to grow
- Includes display case
- Fun learning guide with science facts
- Best for ages 8+
4M Crystal Growing Experiment Kit
- Grow 6 rainbow colored crystal types
- Comes with display stand
- Includes comprehensive experiments guidebook
- Best for ages 10+
Melissa & Doug Crystal Growing Kit
- Grows blue colored crystals safely
- Great for younger kids ages 5+
- Additional crystals can be purchased
- Simple, mess-free method
The Science of Crystallography
Crystal growing allows you to explore crystallography, the scientific study of crystal structure and formation. Here are some key crystallography concepts:
- Crystal lattice – The three-dimensional repeated pattern of the molecular structure inside a crystal.
- Unit cell – The smallest repeating unit of the crystal lattice. Identifying the unit cell reveals the full crystal structure.
- Miller indices – A notation system using three integers to describe each crystal face and direction in the lattice.
- X-ray diffraction – A technique that uses X-ray scattering to map out the density and positions of electrons within the crystal, revealing details of the crystal lattice.
- Scanning electron microscopy – Using a focused electron beam to image the crystal’s shape and edges at extremely high magnification.
- Single crystal vs. polycrystalline – Single crystals have a continuous unbroken lattice structure, while polycrystalline materials have many smaller crystal grains.
Understanding these crystallography concepts will give you greater insight into the fascinating ordered world within your crystals!
Growing Crystals with Kids
Crystal growing is a wonderful educational STEM activity to do with children. Here are some tips:
- Choose child-safe materials like kosher salt, Epsom salt, sugar or alum powder to crystallize.
- Supervise closely and assist with any heating, pouring, or filtering steps.
- Have kids wear goggles, gloves, and an apron or lab coat.
- Explain the science behind crystals and relate it to their observations.
- Encourage them to document the crystal growing process by taking photos and notes.
- Extend the learning by having kids draw diagrams of the crystal shapes.
Growing crystals taps into kids’ natural curiosity and teaches scientific concepts in a hands-on way. With good adult guidance, even young children can successfully grow stunning crystals while having fun!
Ready to Grow Your Own Crystals?
Crystallization is an amazing natural phenomenon you can recreate yourself with just simple supplies and patience. Use this beginner’s guide to start growing incredible crystals at home through easy, safe methods. Keep experimenting with crystallization materials, solvents, seeds, and techniques to uncover the structured beauty within crystals. Soon you’ll have a dazzling collection of crystals to amaze and inspire!
FAQs
What are the best crystallization materials to use?
Some of the most common and easy to use crystallization materials are table salt (sodium chloride), Epsom salt (magnesium sulfate), alum powder (hydrated potassium aluminum sulfate), and borax (sodium tetraborate). These affordable materials readily form crystals. Copper sulfate and potassium ferricyanide also work well.
What crystal growing techniques yield the best results?
The classic technique of creating a supersaturated solution and allowing slow evaporation over days produces good results. Using purified or distilled water helps too. For larger single crystals, try introducing a seed crystal for molecules to attach to. Maintaining constant temperature assists growth.
How can I make colorful crystals?
Adding a tiny amount of harmless food coloring or liquid watercolor to the solution will infuse the crystals with color. Just a drop or two of dye is enough to create vibrant crystals. You can also grow naturally colorful crystals like potassium permanganate which forms dark purple crystals.
Is it safe for children to do crystal growing experiments?
With good adult supervision, crystal growing can be safe for kids as young as 5 years old. Stick to child-safe materials like salt, sugar or Epsom salt. Have kids wear goggles, gloves, and aprons during the process. Assist them with any heating, pouring, or filtering to prevent spills.
What are some crystallography techniques to analyze crystal structure?
X-ray diffraction is the primary technique for determining atomic arrangements within crystals by analyzing the diffraction patterns from x-rays passing through. Scanning electron microscopes can visualize microscopic surface structure. Optical microscopy with polarized light reveals crystal orientation.