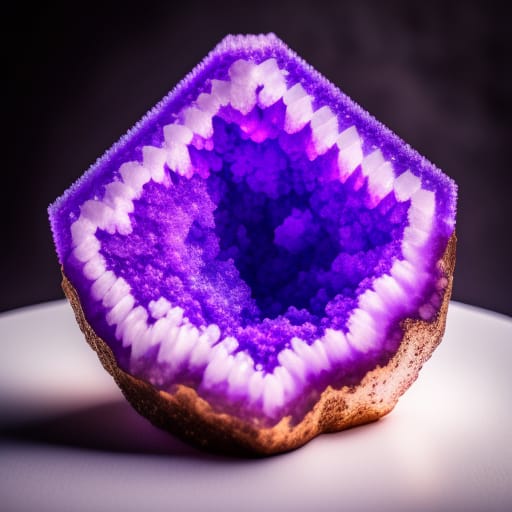
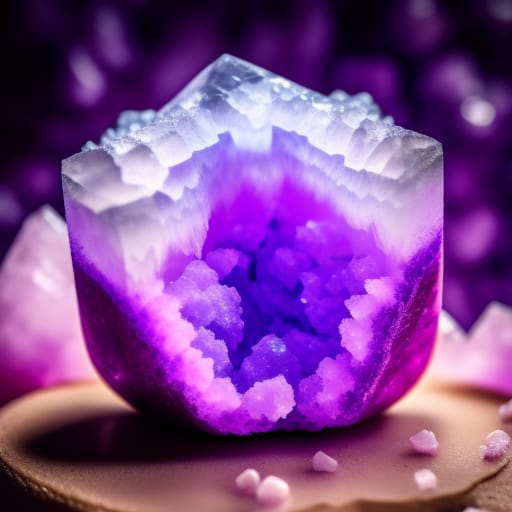
Have you ever looked closely at a snowflake and marveled at its unique shape and intricate pattern? Or gazed in wonder at the inside of a geode, with its dazzling display of crystalline structures? Crystals are all around us, and learning how to grow your own can be a fascinating science experiment.
In this beginner’s guide, you’ll learn the basics of crystal formation, structures, defects, and growth processes. We’ll explore some simple crystal growing experiments you can try at home, as well as key terminology, tools, and safety tips. Let’s dive into the crystalline world!

How Crystals Form
Crystals are solids made up of a repeating, microscopic pattern of atoms, ions, or molecules. This ordered internal structure is known as a crystal lattice. When conditions are right, the particles will self-assemble into an organized crystalline arrangement.
Several factors influence crystal formation:
- Seed crystal: Crystallization starts with a tiny seed crystal that serves as a template. Particles attach themselves to the seed in an orderly way, slowly adding layers to the crystal structure.
- Supersaturation: The solution must be supersaturated, meaning it contains more dissolved particles than can normally remain dissolved. This provides a driving force for particles to condense out of the solution and attach to the seed crystal.
- Nucleation: Stable clusters of particles must nucleate, or group together into tiny embryonic crystals that can grow. Supersaturation provides the energy needed for nucleation.
- Crystal growth: Once nucleation occurs, the embryonic crystals attract more particles from the solution, growing the crystal larger. Growth occurs in specific external shapes governed by the internal lattice.
Crystal formation occurs through nucleation around a seed crystal in a supersaturated solution.
Understanding these basic mechanisms of crystallization will help you succeed at crystal growth.
Crystal Structures and Symmetry
The way particles are arranged in a crystal is known as its structure. The external crystal habit reflects the internal crystal lattice.
Some common crystal structures include:
- Cubic: Atoms/particles are arranged in a simple cube (e.g. salt, gold).
- Hexagonal: Disk-shaped crystals with hexagonal symmetry (e.g. quartz, ice).
- Monoclinic: Elongated prisms (e.g. feldspars).
- Triclinic: No symmetry, asymmetric crystal (e.g. turquoise).
Crystallographic orientation refers to the alignment of crystal faces and axes. The angles between faces and axes are characteristic of the crystal structure.
Crystals can contain defects like missing or misaligned particles. But in ideal crystals, the pattern has crystallographic symmetry – it looks the same when rotated along certain axes or planes.
Common symmetry elements include:
- Mirror planes: Symmetry across a mirror image plane.
- Rotation axes: Rotation by certain angles leaves the crystal looking unchanged.
- Inversion centers: The lattice looks identical when inverted through this point.
Crystal symmetries are described by crystallographic point and space groups. Understanding symmetry helps predict crystal shapes and growth behavior.

Crystal Systems and Axes
There are seven crystalline systems based on lattice symmetry:
| Crystal System | Axes Lengths | Axes Angles | Example |
|---|---|---|---|
| Cubic | a=b=c | α=β=γ=90° | Salt |
| Tetragonal | a=b≠c | α=β=γ=90° | Rutile |
| Orthorhombic | a≠b≠c | α=β=γ=90° | Olivine |
| Hexagonal | a=b≠c | α=β=90°, γ=120° | Quartz |
| Monoclinic | a≠b≠c | α=γ=90°≠β | Feldspars |
| Triclinic | a≠b≠c | α≠β≠γ≠90° | Turquoise |
| Trigonal | a=b=c | α=β=90°, γ=120° | Corundum |
Crystallographic axes are imaginary lines that pass through the crystal intersecting at its center. The orientation of these axes helps define crystal systems.
Crystallographic planes are imaginary flat surfaces cutting through the crystal lattice. Miller indices {hkl} denote specific crystal planes and directions <uvw>.
Understanding crystal systems, axes, and planes aids crystal growth by predicting habits.
Growing Crystals
Now that we’ve covered some crystal science basics, let’s look at how to grow crystals at home through simple experiments.
Supplies
For most experiments you’ll need:
- Crystallization solution – this provides the source particles. Common choices are salt, sugar, Epsom salts, alum, or borax.
- Glass jar with lid
- Stir rod or spoon
- Filter paper or coffee filter
- Seed crystal (optional)
- Food coloring, beads, sand, etc. (optional)
- Magnifying glass
Safety Tips
- Supervise children to avoid spills or ingestion.
- Wear eye protection in case of splashing.
- Use glassware instead of plastic to withstand higher temperatures.
- Wash hands after handling chemicals.
Techniques
Here are some basic techniques for growing crystals:
Slow Evaporation: This is the simplest method. Make a saturated solution by dissolving the material in hot water. Pour it into a jar, add a seed crystal, or let nucleation occur spontaneously. Loosely cover and set aside undisturbed. Evaporation leaves behind a supersaturated solution from which crystals will form.
Temperature Reduction: Make a hot saturated solution and allow it to cool slowly. Reduced solubility as temperature drops cause crystals to precipitate out. The cooling rate affects crystal size – slow cooling produces larger crystals. Place the jar in an insulated container for slow cooling.
Vapor Diffusion: Place your crystallization solution in a small, porous container like an unglazed clay pot or boiled eggshell. Set this within a larger jar containing a solution of the same compound. The vapor will diffuse from high concentration to low, causing crystal growth in the porous container.
Gel Diffusion: Dissolve crystallization compound in a hydrogel-like agar. Place a seed crystal on top of the gel. As the solution diffuses through the gel, crystals grow upward from the seed.
Solvent Evaporation: For organic crystals, dissolve material in a volatile solvent like ethanol. Cover loosely and allow the solvent to evaporate slowly to produce crystals.
Using Additives
Introducing impurities or additives can change crystal shape and color:
- Food coloring stains the crystal.
- Sand or beads get incorporated into the lattice, creating fractures and distortions.
- Salt changes solubility conditions for improved crystal yield.
- Adhesive on the string lowers surface tension for single large crystals.
Get creative with additives to grow unique crystalline structures!
Harvesting Crystals
Allow crystals to fully form over days or weeks before harvesting. To collect:
- Carefully scoop out large crystals with a spoon.
- Pour off excess liquid through filter paper to collect small crystals.
- Rinse in cold water or alcohol and allow to dry on filter paper.
- Use a magnifying glass to inspect crystal details.
- Display best results on a lightbox or in a glass vial.

Key Crystallographic Concepts
Let’s recap some of the key terminology covered in this beginner’s guide:
- Crystal lattice: The repeating 3D pattern of particles in a crystalline solid.
- Miller indices: notation {hkl} to specify crystal planes and <uvw> for directions.
- Crystal system: The 7 lattice systems classified by axes lengths and angles.
- Space group: The arrangement and symmetry of particles within the crystal.
- Crystal habit: The external shape and appearance of a crystal.
- Supersaturation: When a solution contains more dissolved material than is normally soluble. Provides the driving force for crystallization.
- Nucleation: Formation of tiny clustered embryonic crystals that seed further growth.
- Crystal growth: Addition of particles to existing crystals that enlarges their size.
Mastering these foundational concepts will give you a deeper appreciation of crystalline structures.
In Conclusion
Growing flawless crystals takes patience and care, but following basic procedures can help you succeed. Adjusting variables like temperature, concentrations, additives, and cooling rate will enable you to expand your crystalline creativity.
I hope this beginner’s guide has provided a helpful introduction to the science of crystal growth and patterns. Exploring this miniature world of geometry and symmetry can be an enlightening adventure. Whether you’re a mineral collector, chemistry student, or artisan, understanding crystallization fundamentals allows you to generate stunning masterpieces from simple starting materials.
So grab your preferred compounds and glassware, review safety precautions, and delve into the dazzling realm of crystalline structures! With practice, you’ll be growing crystals that impress and amaze.
Further Resources
To learn more about crystal growing experiments, refer to these helpful resources:
- International Union of Crystallography – A leading scientific organization devoted to advancing crystallography.
- Journal of Crystal Growth – Peer-reviewed journal publishing crystal growth research.
- Crystal Growth 101 – Online class at Instructables teaching beginner crystal growing skills.
- Crystallization Laboratories – Commercial supplier of crystal growing kits and materials.
- Crystal Mentor – Helpful guides and lessons for amateur crystallographers.
- Crystal Healing – Introduction to using crystals for spiritual healing.
Keep expanding your crystalline knowledge!
Frequently Asked Questions
What are the best materials for growing crystals?
Some of the most common materials used in crystal growing experiments include table salt, Epsom salts, borax, alum, and sugar. These tend to have high solubility, and low toxicity, and form well-defined crystal habits.
How can I make colored crystals?
Adding a tiny amount of food coloring, pieces of chalk pastel, or powdered drink mix can impart vibrant colors to crystals. The particles get incorporated into the crystal lattice, staining the crystalline structure.
What is the ideal temperature for growing large crystals?
The best crystal growth occurs with slow cooling just below the saturation point. Cooling the solution too quickly results in many tiny crystals. For large crystals, cool at around 1-2°C per hour, maintaining supersaturation without shocking the system.
How do I create flawless crystals?
Perfectly formed crystals require highly pure starting material and growth in a stable, vibration-free environment. Prevent flaws like cracks or crystallographic defects by carefully controlling temperature and concentrations to minimize strain. Slow processes like vapor diffusion produce higher-quality crystals.
Can crystals form different shapes?
Yes, crystal shape is determined by the internal crystal lattice structure. By varying growth conditions like temperature or using additives, the crystal habit can shift, sometimes radically. This can reveal alternative forms within the same compound. However, the molecular symmetry and bonds constrain possible crystalline shapes.
How do I know what type of crystal system I have grown?
The crystal system can be identified by measuring the angles between crystal faces and axes. The geometry, symmetry elements, and a number of axes help assign it to cubic, tetragonal, orthorhombic, etc. X-ray diffraction more precisely determines the underlying crystal lattice.
What equipment is needed for advanced crystal growth?
More complex crystal growing setups require additional equipment like glassware, hot plates, thermometers, humidity chambers, optical microscopes, magnetic stirrers, and X-ray diffractometers for in-depth crystal analysis.
Is it safe to grow crystals with children?
With proper adult supervision, many crystal growing activities can be safe for children. Focus on benign materials like sugar, salt, or alum in reasonable quantities. Emphasize safety measures like goggles, small containers, and hand washing. Steer clear of extremely hot liquids or toxic chemicals.
How long does it take crystals to form?
Crystal growth rates vary widely depending on conditions like supersaturation, temperature, purity, and agitation. Under ideal conditions, crystals may become visible in hours or days. More commonly crystal formation takes 1-3 weeks. Larger crystals can take several months to fully mature. Patience is a virtue in crystallization.
Keep expanding your crystalline knowledge!